How To Paint Underwater Scene With Acrylics
Marine Painting.
Fill your underwater paintings with life and sparkle.
Explore some simple strategies to take your marine painting to the next level.
Create depth and distance in your underwater masterpieces.
Despite what you may think, marine painting is not a genre exclusively reserved for elite maritime soldier portraits.
It does however, encompass a fairly broad range of subjects. Strictly speaking, marine painting could cover genres from seascapes, beachscapes, paintings of vessels, underwater scenes and marine life such as dolphins, whales, fish, seagulls etc.
This time it'll be fun to focus on underwater. There are a few things though, that are really really important:
- getting the colour right
- using your brush effectively to create the illusion of distance and depth
- understanding light
Here are a few strategies to make the process a little simpler, and give you better results with your underwater marine painting.
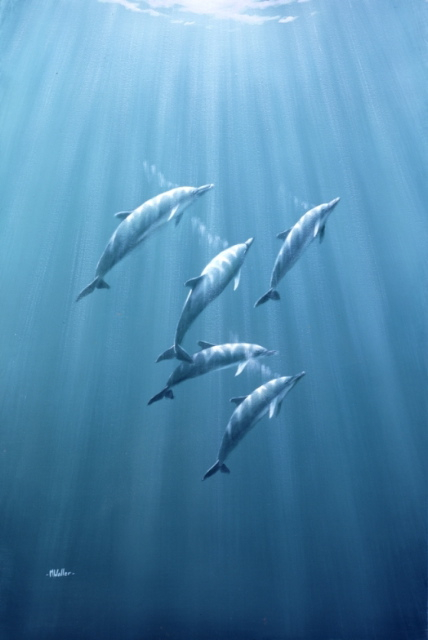
Getting the colour right:
Imagine putting a piece of coloured cellophane over your eye. Water is just like that. A filter. The filter will affect the colour of everything. It will alter reds and yellows.
The further away the object is though, the stronger the effect. With a blue filter, (often the colour of water), reds will disappear eventually. Yellows will become green, and then eventually blue.Everything will be tinted by the colour of the water.
This in some ways makes it easy.
If you want to push something away, add the water colouryoumixed to it. Once you've established your water colour -everything else is affected by it. Further away = more water colour. Closer = less water colour.
Don't be afraid to throw in lots of lovely bright colours right up close. This will give a lot of zap and if you've got the "water colour theory" right, a PILE of dimension.
Using your brush effectively:
This probably counts for every painting you do. Know your brushes.
A dry brush is your friend.
By this I mean asofter touch and less defined marks will automatically create the illusion of distance.
Objects underwater become less distinct. Dry brush technique lends itself to that effect.
It's also a really great technique for creating rays. Be very careful though. Use this technique andbuild up your rays slowly. You're better off taking 10 brushstrokes to create this effect, rather than 1 brush stroke with far too much paint on your brush.
Defining objects really close to you requires a different approach.A wetter, more direct application creates closer detail.
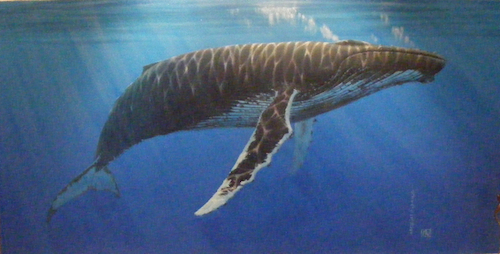
Understanding light:
One important thing to remember - is thatwater can either be crystal clear, or full of sediment - and everything in between. While obviously this will affect the colour, it will also affect the amount of light that hits objects. The more sediment in the water, the more the light is diminished, and objects appear softer, with less contrast and detail.
The clearer the water, the more the light penetrates, so the detail will be sharper and clearer.
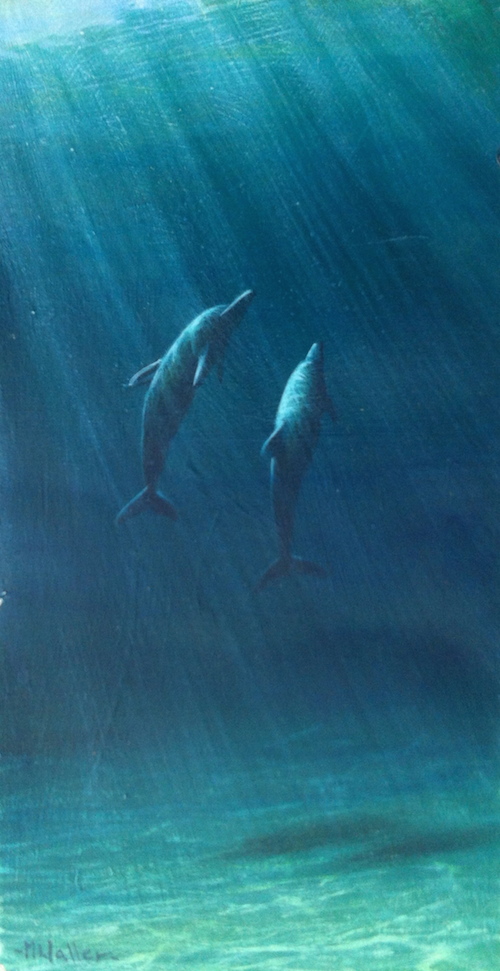
The light from the sky will be diminished, as will the reflected light travelling to your eye from that object.
Painting water that is full of sediment can create a lovely, soft, moody scene. And if you want to paint one of those, you've come to the right place!
Learn to paint an endearing dolphin family like this one with my downloadable tutorial.
And make sure you chuck some paint around - and have fun while you're at it.
Top of Marine Painting
Back To Acrylic Painting Tutorials
Back to Explore Acrylic Painting Home Page
How To Paint Underwater Scene With Acrylics
Source: https://www.explore-acrylic-painting.com/marine-painting.html
Posted by: beckpasm1937.blogspot.com




0 Response to "How To Paint Underwater Scene With Acrylics"
Post a Comment